

Is that “200MP” sticker just marketing theater?
Phone makers pile on specs, but real improvement shows in pictures you can actually use.
This guide shows the tests that separate true camera gains—sensor, optics, low-light, motion, and processing—from glossy numbers.
You’ll learn simple, repeatable shoots to compare phones side-by-side and what to expect from hardware versus software.
If you want a camera that performs in real life, not just on a spec sheet, these are the methods that matter.
Core Evaluation Principles for Flagship Phone Camera Improvements
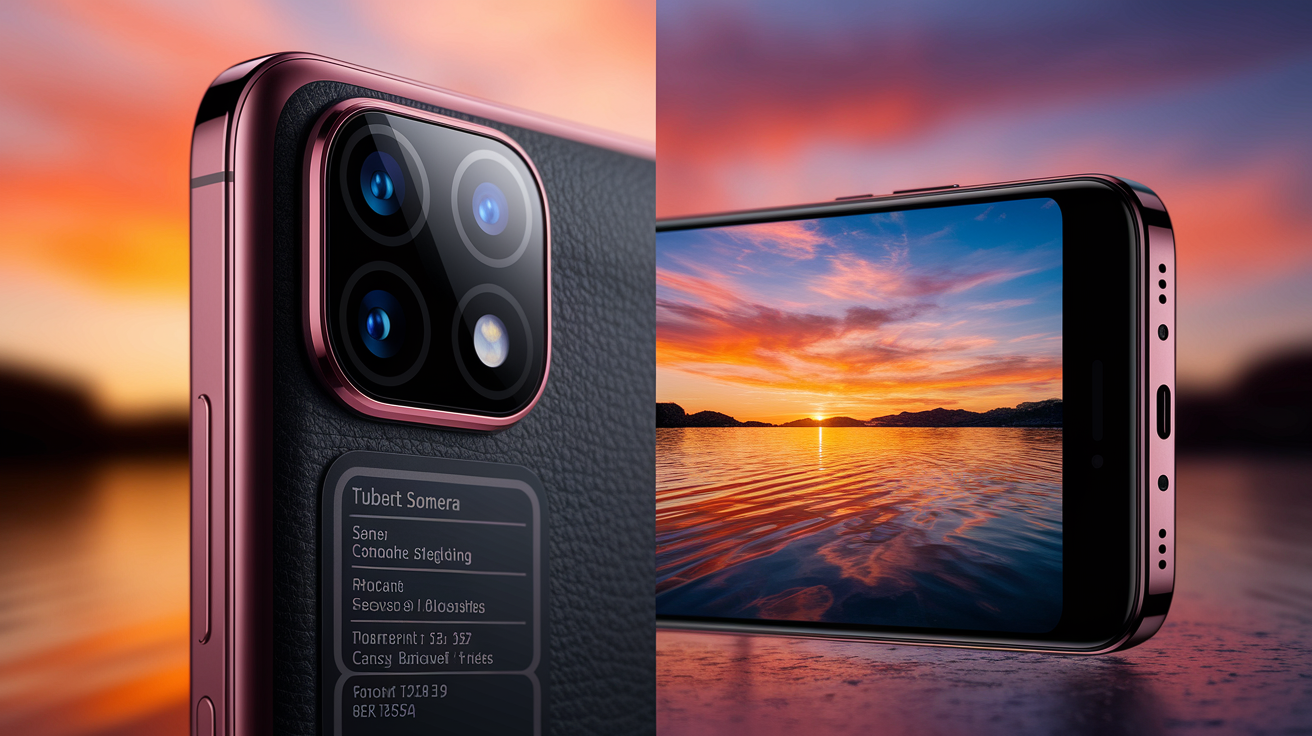
A real camera improvement shows up when you’re actually taking pictures, not just when you’re reading the box. Samsung’s Galaxy S25 Ultra ships with the same 200MP main sensor it’s been using for two years. Apple’s iPhone 17 Pro gets more telephoto reach, but the photos don’t look much different. The number went up. Your pictures didn’t.
You need to separate what changed in the hardware from what changed in the software. Hardware changes—bigger sensors, wider apertures, actual optical zoom—improve how much light hits the sensor and how cleanly that light gets turned into an image. Software changes—AI scene detection, computational HDR, generative fill—happen after the sensor’s already done its job. Both can matter. But hardware improvements tend to stick around across different lighting and subjects, while software can mask problems or create new ones. Apple’s jump from 5x to 8x optical telephoto is physics. A night mode that brightens a dark scene by stacking frames is computation, and it only works when the sensor gathered enough light in the first place.
Controlled comparisons show you which upgrades are real. Shoot the same thing on both phones. Same framing, same settings, same focus point. Then look at the files side by side on a decent screen or in a RAW editor. Don’t just glance. Zoom to 100 percent. Check the shadows for noise. See how the highlights roll off. Test motion blur under different light. Real improvements survive. Marketing doesn’t.
When you’re trying to figure out if a new flagship camera actually got better, check:
Sensor changes: look at sensor area and pixel size, not megapixel count. Bigger sensors and bigger pixels capture more light, which means better dynamic range and low-light performance.
Zoom capability: confirm whether the claimed zoom is optical (dedicated telephoto lens, periscope optics) or hybrid/digital (cropping and guessing). True optical zoom keeps detail and edge sharpness.
Low-light performance: test under dim indoor light and at night on the street to see noise levels, color accuracy, and texture without artificial smoothing.
Dynamic range: shoot high-contrast scenes (backlit subjects, sunlit windows, bright sky with dark foreground) to see how well it recovers highlights and holds shadow detail.
Motion handling: capture moving subjects (pets, kids, fast pans) to check autofocus speed, shutter lag, and motion blur. Computational stacking can’t fix slow AF or rolling shutter.
Computational output fidelity: compare native captures to AI-processed versions. Check for plastic skin, edge halos, hallucinated textures, or unnatural color shifts. Processing should enhance, not fabricate.
Technical Specification Factors Affecting Camera Improvements

Megapixels dominate the headlines, but they’re only part of it. A 200MP sensor doesn’t automatically produce sharper or cleaner images than a 50MP sensor if the pixels are tiny and the sensor’s small. Pixel size and total sensor area decide how much light each photosite collects, which drives low-light performance and dynamic range. Physics sets the rules. Full well capacity (the charge each pixel can hold before clipping) limits dynamic range. Smaller pixels fill faster, clipping highlights sooner and amplifying noise in shadows. When Samsung, Oppo, Vivo, Honor, Realme, and Xiaomi all went with 200MP sensors in 2025, the real difference came from sensor size (Sony’s LYT-901 at 1/1.12 inch versus smaller alternatives) and how they binned pixels for everyday shooting.
To judge whether a spec bump matters, decode what each number actually represents and compare across generations using the same metrics. Sensor format (measured in fractions of an inch, like 1/1.12 inch or 1/1.28 inch) correlates directly with light-gathering area. A larger sensor at the same megapixel count means bigger pixels. Pixel pitch (often quoted in micrometers, µm) shows individual pixel size. 2.4µm pixels generally outperform 0.8µm pixels in low light. Aperture (f-number) controls light transmission and depth of field. f/1.5 admits roughly twice the light of f/2.0, helping night shots but reducing depth of field for close subjects. Focal length equivalents (in 35mm terms) and true optical zoom range tell you whether telephoto claims rest on hardware or software.
| Spec | What It Really Means | How to Compare Across Generations |
|---|---|---|
| Sensor Size (e.g., 1/1.12″) | Physical area capturing light; larger = better dynamic range and low-light performance independent of megapixels | Larger denominator = smaller sensor; compare sensor diagonals in mm if available; prioritize area over MP count |
| Pixel Size (µm) | Dimension of individual photosite; larger pixels hold more charge, reducing noise and increasing full well capacity | Check native pixel pitch; if pixel binning is advertised (e.g., 4-in-1), note effective binned pixel size—compare binned size for real-world shooting |
| Aperture (f-number) | Lens opening controlling light transmission; lower f-number = more light, shallower depth of field; physics-limited by lens design | Compare main, ultrawide, and telephoto apertures separately; incremental changes (f/1.8 → f/1.6) can produce noticeable low-light gains |
| Megapixels (MP) | Total photosite count; higher MP allows cropping and binning but doesn’t guarantee sharpness or low noise | Pair with sensor size and pixel pitch; a 200MP sensor on a small format may underperform a 50MP sensor on a larger format in real scenes |
Real-World Image Quality Testing Methods for Flagship Cameras
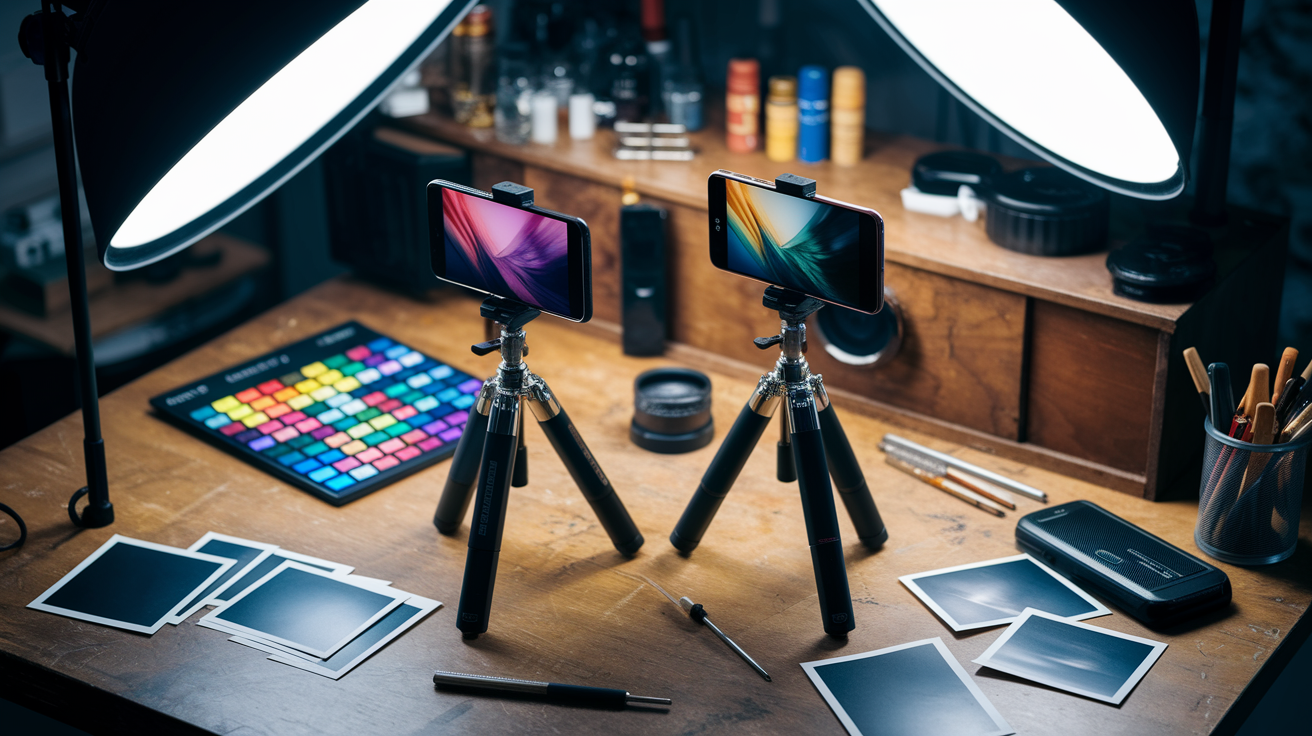
Real-world testing separates genuine upgrades from spec-sheet theater by making both phones handle the same challenging subjects under identical conditions. Shoot a high-contrast outdoor scene (sunlit building façade with deep shadow recesses), then an indoor portrait under mixed tungsten and window light, followed by a nighttime street with neon signs and dark alleys. Capture each scenario on both generations using matched settings. Same resolution, same exposure mode (manual or matched auto settings locked), same focus point, same framing. If one phone defaults to computational HDR or night mode, disable it on both or test it separately so you can isolate the effect. Consistency in test setup means differences in the final images reflect the camera hardware and processing pipeline, not you or the weather.
Dynamic range limits show up fastest in high-contrast scenes where highlights and shadows push the sensor’s full well capacity. Position your subject so a bright window or sky occupies one edge of the frame and a dark interior or shadow the other. Look at the RAW or JPEG histogram. Clipped highlights (data piled against the right edge) and blocked shadows (data crushed at the left) mean the sensor or processing ran out of headroom. Compare how each phone renders the brightest patch and the darkest corner. A phone with a larger sensor or better tone mapping will keep color and texture in both extremes. A smaller or older sensor will blow highlights to white or bury shadows in noise. Ultrawide lenses make the challenge worse by introducing edge distortion and illumination falloff. Test corner sharpness and chromatic aberration by photographing a grid or building with straight lines extending to the frame edges.
Follow these testing steps for repeatable, bias-free comparisons:
- Use a tripod or stable surface to eliminate camera shake and ensure identical framing across captures. Handheld variation masks small detail differences.
- Lock exposure and white balance manually (if the camera app allows) or take multiple bracketed shots at fixed EV offsets to verify consistent metering behavior.
- Photograph a color reference chart (X-Rite ColorChecker or printed reference card) under controlled lighting to compare color accuracy and white balance drift across generations.
- Capture both JPEG and RAW files (if supported) so you can inspect unprocessed sensor data and measure noise, dynamic range, and sharpening independently of in-camera processing.
- Test each lens individually—main, ultrawide, telephoto, macro—since manufacturers often upgrade one module while leaving others unchanged. Verify focal length equivalents and optical quality lens by lens.
- Shoot moving subjects (walking person, pet, car) to check autofocus tracking speed, shutter lag, and motion blur. Test continuous AF and burst mode to see hit rates on sharp frames.
- Include difficult mixed lighting scenarios such as backlit portraits, neon-lit streets at night, and indoor scenes with single overhead bulbs to stress computational HDR, highlight recovery, and shadow noise handling.
Low-Light and Night Mode Evaluation Techniques for New Flagship Cameras

Low-light performance is dominated by sensor physics. Larger sensor area and bigger individual pixels capture more photons per unit time, reducing noise and extending dynamic range before computational processing even starts. Pixel size drives the baseline. 2.4µm pixels collect roughly nine times the light of 0.8µm pixels in the same exposure duration. Total sensor area sets the upper bound for signal-to-noise ratio. When manufacturers advertise improved night mode, verify whether the gain comes from hardware (larger sensor, wider aperture, improved optical image stabilization that allows longer handheld exposures) or software (multi-frame stacking, AI noise reduction, pixel binning). Pixel binning combines adjacent photosites to simulate a larger effective pixel, boosting light capture and reducing chroma noise but potentially giving up fine texture and resolution. Test under real dim conditions—indoor restaurant with candles, evening walk under street lamps, outdoor night scene with mixed sodium and LED lighting—to see whether the phone delivers clean shadows and natural color or smears detail into a waxy, over-processed glow.
Brightness alone doesn’t define good low-light output. The tradeoff between noise reduction and texture preservation separates excellent sensors from mediocre ones. Zoom to 100 percent on a night shot and inspect shadowed areas for luminance noise (grainy speckle) and chroma noise (color blotches). A phone with a larger sensor or effective noise filtering will show fine grain that keeps edge detail and fabric texture. Aggressive computational smoothing obliterates micro-contrast and leaves skin or foliage looking plastic. Compare highlight handling in the same frame. Streetlights, car headlights, and lit windows should retain color and shape without haloing or chromatic fringing. If one phone renders a streetlight as a blown white blob and the other keeps the bulb filament and surrounding glow gradient, the latter has better highlight rolloff and dynamic range.
Night mode duration and stabilization matter as much as sensor specs. Most flagship night modes capture and align multiple frames over two to four seconds, relying on optical or electronic stabilization to keep the stack registered. Handheld night shots will show motion blur or ghosting if stabilization fails or if the subject moves between frames. Test by photographing a distant lit sign or building—any camera shake will smear fine lettering—and by capturing a person standing still under dim light to see whether multi-frame alignment introduces face or clothing artifacts. Compare capture time and success rate. A phone that needs five seconds and fails half the attempts in realistic handheld conditions is less practical than one that delivers clean results in two seconds with high consistency, even if the longer exposure version looks marginally better on a tripod.
Evaluating Zoom Systems and Telephoto Performance in Flagship Launches
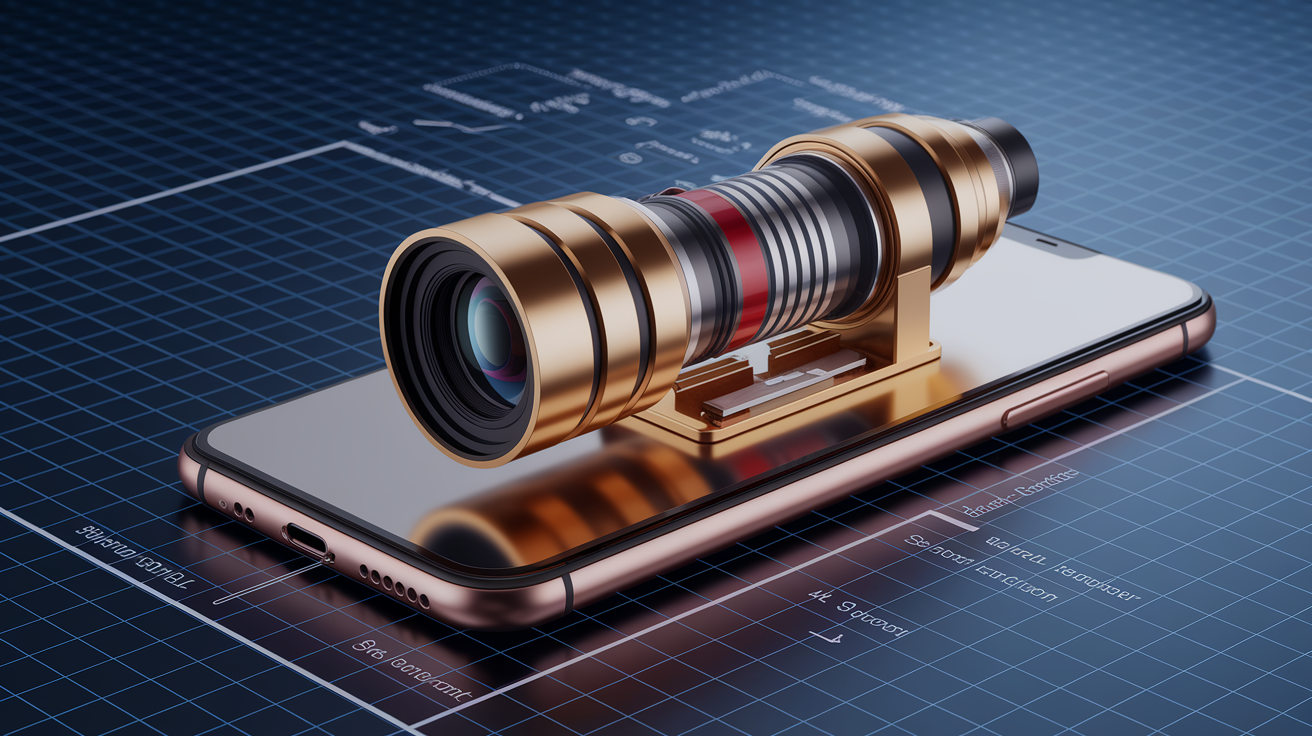
Telephoto upgrades often headline launch events, but the claimed zoom multiplier can hide whether the improvement is optical or computational. Apple’s move from 5x to 8x optical telephoto in the iPhone 17 Pro represents a true lens and sensor change. Longer focal length via periscope optics or a dedicated telephoto module that maintains resolution and edge sharpness across the zoom range. Oppo’s claim of up to 13.2x “lossless zoom” from a 200MP sensor, by contrast, relies on cropping the high-resolution sensor and interpolating the result. It preserves detail better than traditional digital zoom, but it still degrades faster than true optical magnification as you approach maximum zoom. Verify telephoto claims by shooting a distant target—building sign, license plate, tree branches—at the advertised zoom level and inspecting edge sharpness, chromatic aberration, and noise at 100 percent magnification. If fine text stays legible and edges stay crisp without color fringing or mush, the zoom system is delivering real optical performance. If detail softens or artifacts multiply, you’re seeing hybrid or digital zoom.
To systematically test telephoto improvements across phone generations:
- Match framing precisely by photographing the same distant subject (at least 20 meters away) at identical claimed focal lengths on both devices. Use a tripod and alignment marks to eliminate angle or distance variation.
- Test multiple zoom steps from wide to maximum telephoto, capturing frames at each marked zoom level (e.g., 1x, 2x, 3x, 5x, 8x, 10x) to identify where optical zoom ends and digital interpolation begins. Quality should degrade sharply at the transition point.
- Verify claimed focal length equivalents by measuring field of view or using EXIF metadata (if preserved in RAW files) and comparing to the manufacturer’s published specs. Misleading marketing may round up hybrid zoom as “optical.”
- Inspect stabilization effectiveness by shooting handheld telephoto video or bursts of stills while walking. Optical image stabilization (OIS) in the telephoto module reduces shake more effectively than electronic stabilization alone, especially at long focal lengths.
- Check edge performance and corner sharpness across the telephoto zoom range, since lower-quality optics or small sensor formats degrade faster at the frame edges. Compare center crops and corner crops side by side.
Periscope telephoto modules allow longer focal lengths in thin phone bodies by folding the light path, but they introduce challenges. Smaller apertures (often f/2.8 or narrower) limit light transmission, and the reflective prism can introduce ghosting or flare in backlit scenes. Test by photographing into the sun or a bright light source at telephoto zoom to see whether flare or internal reflections degrade contrast. Compare low-light telephoto performance by shooting under streetlights or indoor dim conditions. Phones with larger telephoto sensors or wider telephoto apertures will maintain usable detail and manageable noise. Smaller modules will require aggressive noise reduction that smears texture.
Assessing Computational Photography and AI Improvements

Computational photography has shifted from background enhancement to headline feature. AI now drives HDR stacking, portrait segmentation, generative fill, and real-time capture guidance systems like Pixel 10’s “Camera Coach.” These algorithms analyze scenes, merge exposures, relight subjects, and even synthesize missing detail. The line between photography and image generation is blurring. Evaluate AI improvements by comparing native sensor output to the final processed result. Capture the same scene in a pro or manual camera app that bypasses computational pipelines, then shoot it again using the phone’s default camera with all AI features enabled. The difference reveals what the software adds or fabricates. Legitimate enhancements preserve natural texture, color relationships, and lighting cues while boosting dynamic range or reducing noise. Over-aggressive processing introduces plastic skin, halo edges around high-contrast boundaries, unnaturally saturated skies, or hallucinated textures that were never present in the original scene.
Detecting Over-Processing
Over-processing reveals itself in telltale artifacts. Skin in portrait mode may lose pore detail and take on a waxy, smoothed appearance, especially in medium and darker skin tones where aggressive noise reduction flattens micro-contrast. HDR stacking can produce halos (bright fringes around dark subjects against bright backgrounds) when alignment or tone mapping fails. AI-boosted detail enhancement sometimes invents textures in out-of-focus or low-detail areas. Foliage may gain sharp edges that were originally smooth blur, or noise in a dark sky may be sharpened into false stars or grain patterns. Generative fill and background replacement can introduce lighting mismatches, perspective errors, or unnatural edges where the generated content meets the original capture. Check skies, shadows, and reflections for consistency. If the light direction or color temperature differs between subject and background, or if a reflection is missing or inconsistent, the image has been synthetically altered.
Testing AI Mode Reliability
Test AI mode reliability by running controlled side-by-side captures with AI features toggled on and off. Photograph a challenging portrait under mixed lighting—window light from one side, tungsten lamp overhead—and compare the default AI-processed output to a version shot in manual or pro mode with minimal processing. Inspect skin tones, catch lights in the eyes, and shadow transitions on the face. Then shoot the same subject in a high-contrast environment (backlit, strong side light) to see how portrait mode handles edge detection and bokeh rendering. AI segmentation should cleanly separate hair strands and ears from the background without unnatural cutouts or blur leakage onto the subject. Repeat the test with non-human subjects: pets, objects with fine detail (lace, mesh, branches), and reflective or transparent surfaces (glass, water) to check where segmentation algorithms succeed and where they fail. Record whether failures are consistent (always misses fine hair) or random (sometimes works, sometimes clips), since consistency indicates a systematic limitation you can work around. Randomness suggests immature AI that may improve via software updates.
Video Quality Inspection for Next-Generation Flagship Cameras
Video performance often lags behind still-image capabilities because it demands sustained readout speed, real-time processing, continuous autofocus, and effective stabilization across multiple seconds. Test video improvements by recording clips with camera movement (slow pan, walking handheld, fast whip), exposure transitions (moving from shade into sunlight, pointing toward and away from a window), and moving subjects (person walking toward camera, car driving past). Start with multiple resolution and frame rate combinations—1080p at 30fps and 60fps, 4K at 24fps, 30fps, and 60fps—and note whether quality, stabilization, or autofocus behavior changes at higher settings. Higher frame rates can reduce motion blur and improve slow-motion playback but may decrease bit rate per frame or disable certain processing features. Compare bitrate, codec efficiency, and file sizes across phones. A phone that records 4K60 at 100Mbps will retain more detail and fewer compression artifacts than one using 50Mbps for the same resolution and frame rate.
| Test | What to Look For | Signs of Real Improvement |
|---|---|---|
| Panning and Stabilization | Smoothness of horizontal and vertical camera movement; absence of jitter, warp, or crop-in artifacts from electronic stabilization | Steady, fluid motion without visible correction jerks; minimal crop factor; optical IS performs better than EIS alone in low light |
| Autofocus Tracking | Ability to lock onto and follow a moving subject (face, pet, object) across the frame without hunting or losing focus | Fast initial lock, smooth refocus transitions, subject stays sharp even during occlusion or rapid movement; face/eye tracking maintains focus on eyes |
| Exposure Transitions | How quickly and smoothly the camera adapts to lighting changes (entering/exiting shade, turning toward bright window) | Gradual, natural exposure ramp without abrupt brightness jumps or prolonged over/underexposure; histogram stays balanced |
| Rolling Shutter (Jello Effect) | Vertical skew or wobble when panning quickly or recording from a moving vehicle; caused by slow sensor readout | Minimal or absent rolling shutter distortion; vertical lines stay vertical during fast pans; newer sensors with faster readout perform better |
| Low-Light Video | Noise levels, color accuracy, motion blur, and autofocus reliability under dim lighting (indoor evening, night street scenes) | Low chroma noise, retained texture without smearing, accurate colors, usable autofocus without hunting; larger sensors and IS allow cleaner handheld footage |
Interpreting Professional Reviews, Benchmarks, and Comparisons

Professional reviewers use standardized test charts, controlled lighting rigs, and repeatable shooting protocols to isolate camera performance from environmental variables. Look for reviews that publish RAW files or unprocessed samples alongside final JPEGs so you can inspect sensor data independently of computational processing. Benchmark sites often include resolution charts (ISO 12233 or similar), color accuracy targets (X-Rite ColorChecker), and noise measurements at fixed ISO levels, providing objective metrics you can compare across phone generations and competing models. These controlled tests reveal maximum resolving power, chromatic aberration, distortion, and noise floors. But they don’t predict real-world usability. Autofocus speed, UI responsiveness, shutter lag, and computational reliability emerge only in field testing. Cross-reference lab benchmarks with sample galleries shot in natural conditions (street photography, portraits, low light, action) to see how technical performance translates to everyday use.
Blind comparisons strip away brand bias and marketing influence by presenting unlabeled samples from multiple phones and asking viewers to rank image quality. When reviewers or communities run blind tests, results often diverge from spec sheets and hype cycles. A phone with a smaller sensor but superior color science may win portrait comparisons, or an older model with mature processing may outperform a newer one with aggressive but inconsistent AI. Pay attention to consistency across samples. If a phone produces excellent results in three scenes and fails badly in two, it may have narrow tuning or unreliable algorithms. A phone with steady, good-but-not-spectacular output across all conditions is often more dependable for varied real-world shooting.
Synthesize findings across multiple independent sources to filter manufacturer bias and reviewer variance. Compare conclusions from publications with different testing methodologies (lab-focused versus real-world field tests), different reviewer preferences (prioritizing color accuracy versus dynamic range versus low light), and different geographic markets (reviews in regions with different lighting, architecture, and skin tones can reveal localized tuning issues). If five independent reviewers agree a telephoto module shows clear improvement and two outliers claim otherwise, investigate the outliers’ test conditions. They may have encountered firmware bugs, sample variation, or used settings that bypassed the improvement. Conversely, if most reviews praise a feature but one rigorous technical breakdown reveals a fundamental limitation, weigh the technical evidence heavily. Look for long-term reviews published weeks or months after launch, since early review units sometimes run pre-release firmware that improves or degrades after public release.
Long-Term Factors When Judging Whether a Camera Upgrade Matters

Camera performance evolves after launch through firmware and software updates that tune image processing algorithms, adjust color profiles, refine autofocus behavior, or introduce new computational features. A phone with strong long-term software support can improve measurably over its first year, sometimes closing gaps with newer models or even surpassing them in specific areas as engineers refine ISP (image signal processor) pipelines and machine learning models. Conversely, a phone abandoned by its manufacturer after launch will stagnate or regress as competing models receive updates. Check the manufacturer’s public update roadmap and historical track record. Brands that commit to multi-year OS and security updates generally extend that support to camera software. Brands with short support windows leave early adopters with frozen feature sets and unpatched bugs.
Incremental spec bumps often fail to justify the cost and disruption of upgrading, especially when the primary camera module carries over unchanged and only secondary lenses (ultrawide, telephoto, macro) receive minor tweaks. If the new flagship retains the same main sensor, sensor size, and aperture as its predecessor, and only adds megapixels to a secondary module or introduces a new computational mode, real-world output may be indistinguishable in your typical shooting scenarios. Test whether the advertised improvements align with your actual photography. A better telephoto matters if you frequently shoot distant subjects, but it adds no value if you rarely zoom beyond 2x. A higher-resolution ultrawide helps landscape and architecture shooters but offers little benefit for portraits or macro work.
When evaluating long-term camera value, consider:
Firmware update frequency and scope: does the manufacturer ship camera-focused updates regularly, or only during major OS releases. Frequent updates indicate active tuning and bug fixes.
Repairability and module replacement cost: camera modules are among the most expensive components to replace. Phones with modular designs or widely available parts reduce long-term ownership risk.
Resale value influenced by camera reputation: models known for sustained camera performance (through updates or durable hardware) hold value better than those with early hype but poor long-term support.
Backward compatibility of new features: some AI or computational modes introduced in new flagships are backported to older models via software updates. Verify whether the feature you want requires new hardware or just newer software.
Final Words
In the field, apply the core steps: check sensor and lens changes, run matched side‑by‑matched shots, and test low light, zoom, motion, and AI output against RAW.
Don’t confuse megapixel headlines with real gains. Focus on dynamic range, noise control, stabilization, and true optical zoom when you can.
Bottom line: prioritize hardware that improves light capture, then software that preserves texture and detail. That’s a practical way to judge camera improvements in flagship phone launches — it helps you decide upgrades with more confidence.
FAQ
Q: How to judge a smartphone camera?
A: To judge a smartphone camera, evaluate real-world image quality: low-light, zoom, dynamic range, motion, and video stabilization. Check sensor specs, lens aperture, and side-by-side RAW comparisons.
Q: Why is Gen Z buying dumb phones?
A: Gen Z is buying dumb phones because they want less distraction, lower cost, longer battery life, better privacy, and digital minimalism; many find them helpful for focus and sleep.
Q: How to improve your phone’s camera quality?
A: To improve your phone’s camera quality, use good light, steady your shot, enable HDR or RAW capture, clean the lens, lock focus/exposure, update firmware, or try a better camera app.
Q: Is a 50 MP camera better than 64MP?
A: A 50 MP camera is not automatically better than 64MP; image quality depends on sensor size, pixel size, optics, and processing—higher MP can add detail but may increase noise.